
Office security layers are the overlapping physical and operational controls that protect a building from the parking lot to the executive suite. Most offices should start with three: badge-based access control, cameras at every entry point, and a real visitor management process. From there, a physical security audit tells you which additional layers, from perimeter lighting to executive protection, deserve the next dollar. Hubsecurityandinvestigativegroup builds that roadmap for clients daily.
TL;DR:
- Small offices should prioritize badge access, cameras at entrances, and monitored alarms, with minimal additional layers needed.
- Large campuses require multiple guard posts, vehicle barriers, and integrated security systems that include guard oversight and technology enforcement.
- Regular audits should focus on identifying high-risk entry points, verifying badge deactivation, and ensuring camera footage retention supports investigations.
- Visitor management gaps, like unverified guest access and active temporary badges, are common vulnerabilities that can be fixed with strict policies and staff training.
- Cybersecurity hygiene for security devices—such as changing default passwords and network segmentation—is essential to prevent digital breaches.
Table of Contents
- What Are the Layers in a Multi-Layer Office Security System?
- How Do You Audit Your Office for Security Gaps?
- How Should Security Scale for Small, Mid-Size, and Campus Offices?
- Visitor and Contractor Management: Closing the Easiest Gap to Exploit
- Reducing Risk in Parking Lots and at the Perimeter
- Are Your Cameras and Access Panels a Security Risk Themselves?
- How Do You Budget and Phase Office Security Upgrades?
- Hub’s Field Perspective: What Actually Moves the Needle First
- How Hub Investigative Group Turns an Audit Into a Working Security Program
- Sources
What Are the Layers in a Multi-Layer Office Security System?
Layered physical security, often called defense in depth, works because no single control is perfect. A camera doesn’t stop a break-in; a locked door doesn’t identify who tried it. Stack enough complementary layers and the gaps in one get covered by the strength of another.
Here’s what each layer actually does:
- Perimeter and parking: lighting, sightlines, and vehicle barriers that control approach before anyone reaches the door.
- Building envelope: doors, windows, roof access, and utility rooms hardened against forced entry.
- Access control: badges or credentials tied to roles, so a warehouse worker’s card doesn’t open the finance suite.
- Visitor management: pre-registration, ID checks, and temporary badges that expire on their own.
- Video surveillance: coverage that deters trouble and documents it when deterrence fails.
- Intrusion detection: sensors and alarms that trigger a monitored response, not just a loud noise.
- Security personnel: reception posts, roving patrols, and remote monitoring that enforce every other layer.
- Policies and training: the rules that turn hardware into habits, from badge discipline to incident reporting.
Architects who design buildings around concentric security zones put the most sensitive assets, server rooms, executive offices, cash handling, deepest inside that stack. Everyone else moves through progressively more open rings on their way in.
How Do You Audit Your Office for Security Gaps?
A physical security audit is the tool that turns a wish list of layers into a funded plan. Done right, it walks the property the way an intruder would, then documents what actually holds up.
- Define scope. List your assets (data, cash, people, IP), your zones (public lobby, general office, restricted areas), and the threats that realistically apply to your industry.
- Inspect the physical layer. Walk every entrance and exit, check badge readers, review camera angles, test alarm panels, and don’t skip the loading dock or roof access, both are common blind spots.
- Test the operational layer. Confirm visitors actually sign in, contractors don’t wander unescorted, and departed employees’ badges were deactivated the day they left, not the week after.
- Review the paper trail. Pull access logs and camera footage retention settings to see if they’d actually support an investigation.
A qualified audit, the kind covering entrances, credential practices, video coverage, and intrusion detection, should hand you back a risk matrix, a prioritized fix list, rough cost and timeline estimates, and a named owner for each action item. If it doesn’t produce a roadmap, it wasn’t really an audit. Hubsecurityandinvestigativegroup’s two-page risk assessment guide outlines exactly what that scope should cover before you hire anyone.
Pro Tip: Ask any auditor to rank findings by exposure, not by cost. A cheap fix on a high-traffic door often matters more than an expensive upgrade on a rarely used one.
How Should Security Scale for Small, Mid-Size, and Campus Offices?
The right stack depends entirely on square footage, headcount, and what’s inside the building. A 12-person satellite office and a 400-employee headquarters are not solving the same problem, even if the layer names are identical.
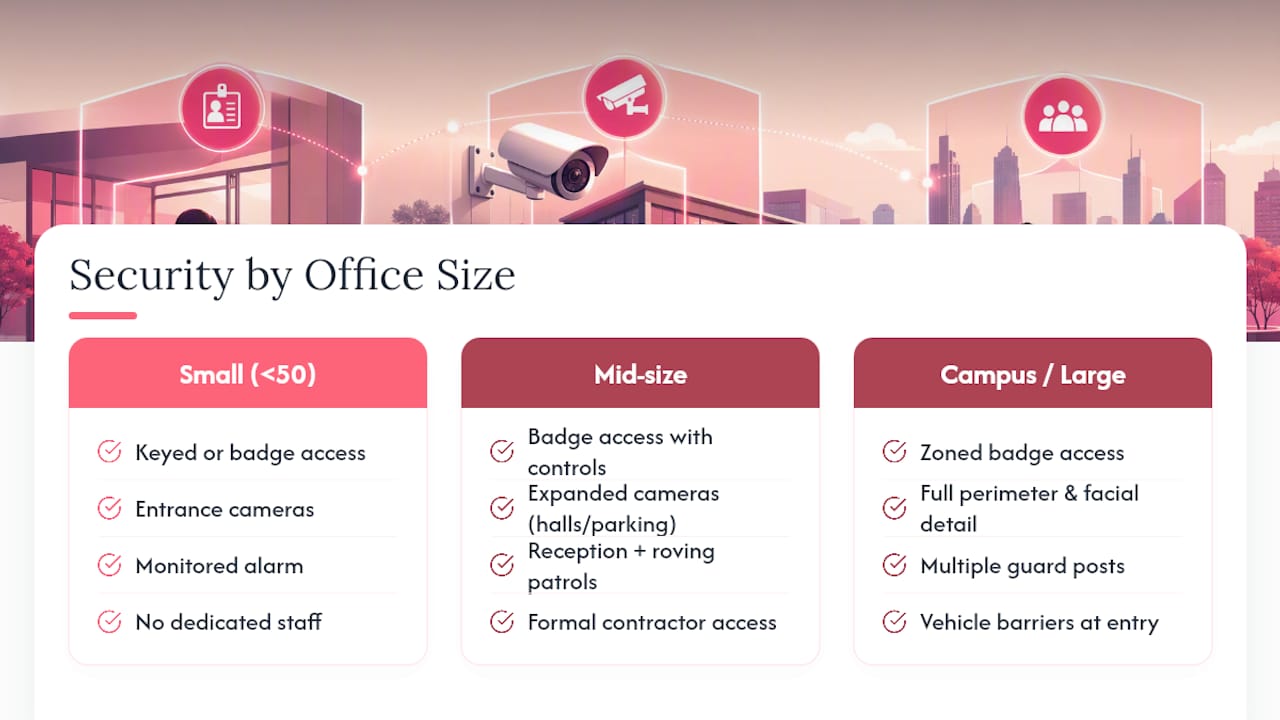
Small offices (under roughly 50 employees) need a floor, not a full program: keyed or badge access control, a camera at every entrance, and a monitored alarm. That combination addresses the majority of common intrusion scenarios without requiring a dedicated security staff.
Mid-size offices usually add a staffed reception or concierge desk, roving patrols during off-hours, expanded camera coverage in hallways and parking areas, and formal contractor-access controls, since more foot traffic means more chances for a badge-discipline lapse.
Large offices, campuses, and Class A buildings need multiple guard posts, vehicle barriers at controlled entry points, and monitoring that resembles a mini command center rather than a single guard checking a screen. This is also where convergence matters: guards, access control, and cameras stop being separate systems and become one enforced program, where the guard’s job includes making sure the technology is actually being used correctly.
A few technical notes worth pinning down regardless of size: camera footage should hold clear facial detail, not just movement, and retention should run long enough to support an HR or police investigation, typically 30 days at minimum. Door hardware should match the risk of what’s behind it; a server room deserves a heavier strike plate than a supply closet. Man-trap style double-door entries make sense for high-security cores but are overkill for a standard lobby.
The underlying design principle, borrowed from physical security engineering, is simple: every barrier should delay an intruder longer than it takes a responder to arrive. If your alarm response time is eight minutes, a door that only holds for two isn’t a layer, it’s a formality.
Visitor and Contractor Management: Closing the Easiest Gap to Exploit
Unvetted visitors are one of the most common findings in any office security audit, and one of the cheapest to fix. Failures like skipped ID checks, missing escorts, and temporary badges left active happen constantly, usually because no one wrote down a policy, not because the technology is missing.
- Require pre-registration and a photo ID check for every guest, no exceptions for “regulars.”
- Issue temporary credentials that expire automatically at the end of the visit, not at the end of the week.
- Restrict visitor access to specific areas and require an escort outside the lobby and conference rooms.
- Train reception staff to enforce the policy consistently, politely, and without making exceptions for anyone who seems important.
A well-run visitor management system, paired with access-control best practices borrowed from other high-traffic environments, closes this gap permanently rather than patching it after an incident.
Reducing Risk in Parking Lots and at the Perimeter
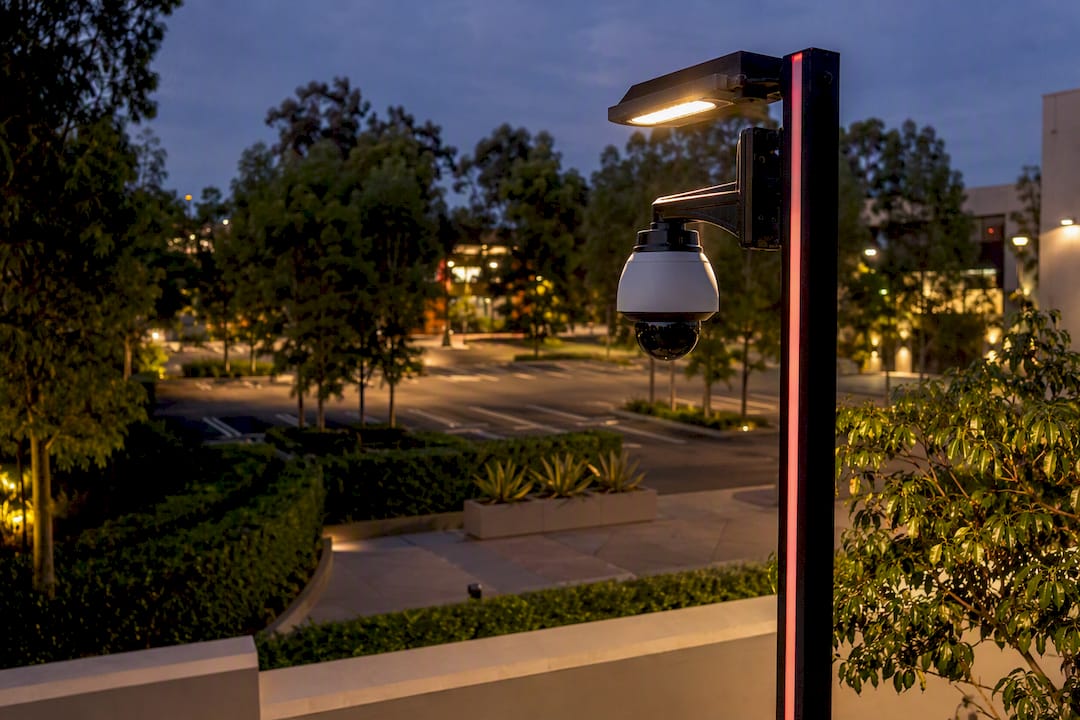
Most break-ins and assaults on office property happen outside the front door, not inside it. CPTED principles, lighting, trimmed landscaping, and clear sightlines, remove the concealment that lets someone loiter unnoticed near an entrance or a parked car.
Employee-only parking, controlled vehicle access, and separate staging for deliveries keep unknown vehicles away from the building’s edge. Where the threat justifies it, bollards and planters add crash resistance without turning the entrance into a fortress. Camera coverage and periodic patrols in garages and lots close the loop.
Are Your Cameras and Access Panels a Security Risk Themselves?
Modern cameras, badge readers, and alarm panels run on the same networks as your email and payroll systems, which means a weak device can become an entry point for a cyberattack, not just a physical one.
- Change every default password on cameras, readers, and panels before the system goes live.
- Put security devices on a segmented network, separate from finance and HR systems, and apply least-privilege access to whoever can log in.
- Keep firmware current and check device logs periodically for logins or configuration changes that don’t match anyone’s normal work.
- Have your integrator confirm vendor default settings were changed and remote access is properly restricted, not just switched on and forgotten.
This is basic cyber hygiene for physical security hardware, and skipping it undermines every other layer you’ve paid for.
How Do You Budget and Phase Office Security Upgrades?
Triage first: protect your highest-value assets and highest-exposure entry points before anything else. A perfect camera system on the loading dock does nothing if the server room door doesn’t lock.
Cost signals help set expectations. Outsourced unarmed guard posts typically run $22 to $35 an hour, with armed posts at $30 to $48 an hour, and executive protection is priced separately and higher given the specialized training involved. Full corporate security programs range from roughly $50,000 a year for a single-post small office to well over $1 million for campus-level operations.
Phase the work: fix badge and visitor policy gaps immediately (they’re often free), add cameras and lighting in the short term, and budget for staffing or monitoring upgrades over six to twelve months. Outsource when you lack in-house expertise or 24/7 coverage needs; keep functions in-house only when you already have trained staff to run them properly.
Hub’s Field Perspective: What Actually Moves the Needle First
Most offices we assess already own more security equipment than they use correctly. The fix usually isn’t a bigger budget, it’s zoning: putting the most sensitive assets in the innermost ring and matching each layer’s strength to what it actually protects.
The fastest wins we see repeatedly: cleaning up dormant badge credentials, repositioning a poorly aimed camera, and writing a one-page visitor SOP the front desk can actually follow under pressure. None of that requires new hardware. Our risk assessment guide and our breakdown of how professional guards prevent crime on commercial properties both come out of that same field experience.
— Derek
How Hub Investigative Group Turns an Audit Into a Working Security Program
Hubsecurityandinvestigativegroup is the option for offices that want an assessment done by people who’ve actually worked the post, not just written the report. Our team brings over seventy-five years of combined law enforcement and loss-prevention background to every walkthrough, so the roadmap you get reflects what actually stops incidents, not a generic checklist.
A Hub assessment gives you a prioritized risk matrix, realistic cost estimates, and an implementation timeline you can hand straight to your leadership team. From there, we can staff the fix ourselves: armed and unarmed guards, executive protection for leadership traveling or attending sensitive events, and ongoing monitoring oversight so the program doesn’t quietly decay six months after the audit. Explore our full security services or look specifically at armed security options if your risk profile calls for it.
Before your initial scoping call, pull together your floor plan, current camera and access-control vendor details, and a list of past incidents, even minor ones. That’s enough for us to start building your roadmap on day one.
Sources
- AIA_BestPractices_Buildingsecuritybydesign.pdf
- Office security audit — Motorola Solutions
- 7 Physical Security Layers Every Business Needs | CTS
- Hiresecuritynow